
Bloons Blitz Walkthrough: Clear Stages and Beat Bosses
Use this Bloons Blitz walkthrough to collect XP, build your monkey team, survive early stages, and handle boss fights with smarter upgrades and movement.
Jump to
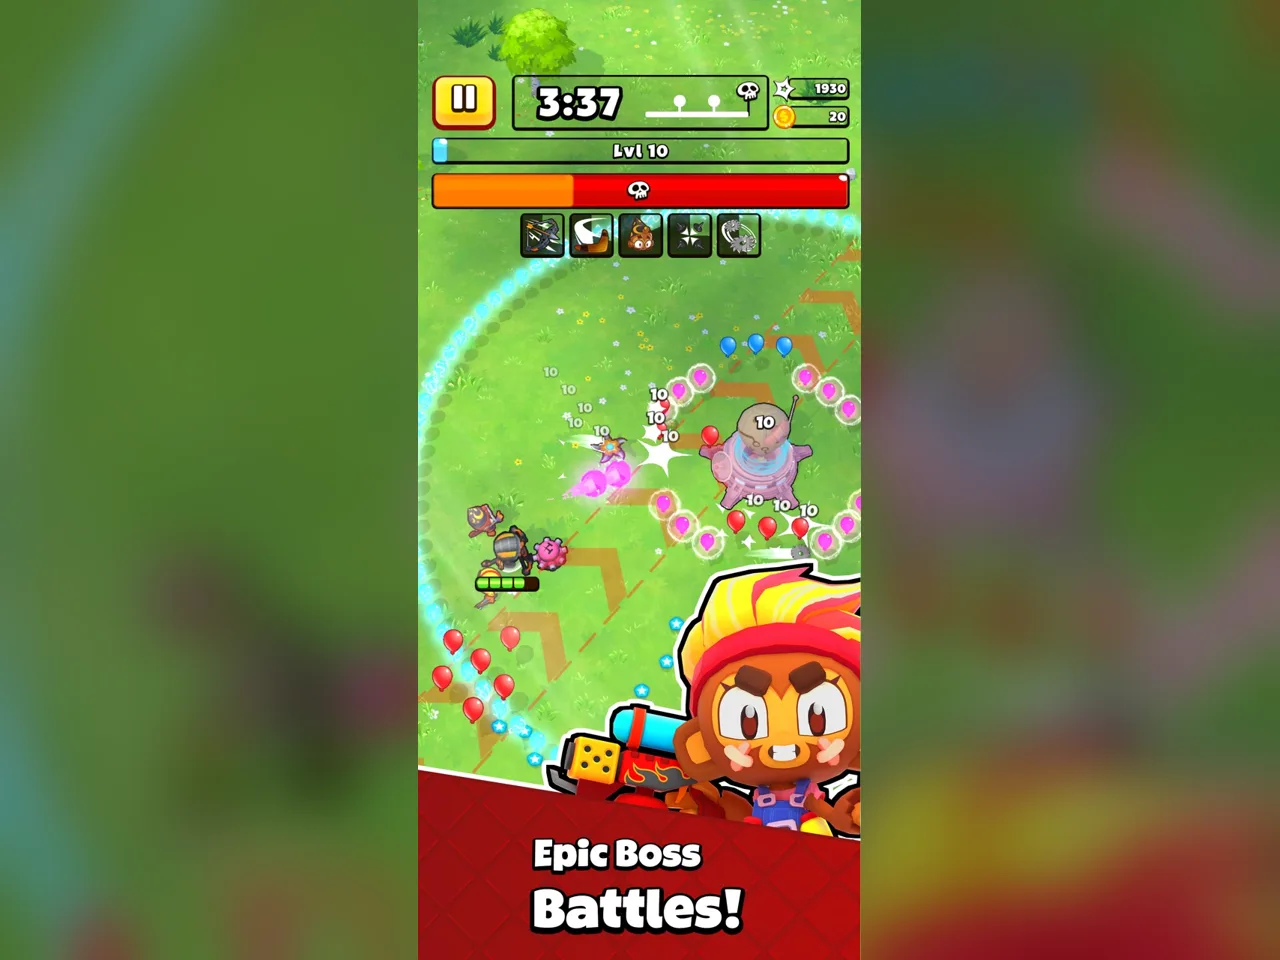
Level 1: Build Your Team and Defeat MOAR
Getting surrounded is dangerous, but leaving every experience pickup behind makes the next swarm harder. This Bloons Blitz walkthrough starts with the habit that keeps your team growing: clear space, collect Blops, and upgrade before the pressure builds. Follow this Bloons Blitz walkthrough through Quincy's opening stages to balance crowd control, boss damage, and movement.
Bloons Blitz uses automatic attacks while you steer your hero through approaching enemies. Collecting Blops grants experience toward in-run levels, which offer upgrades and additional allies. Your movement therefore serves two purposes: avoiding damage and reaching the experience your attacks leave behind.
The opening route introduces these decisions gradually:
| Stage | Objective | Upgrades or pickups to watch for |
|---|---|---|
| Level 1 | Recruit allies and defeat MOAR | Boomerang Monkey, Quincy upgrades, Blops |
| Levels 2–3 | Survive incoming formations and defeat CTRL | Tack Shooter, Sniper Monkey, healing bananas |
| Levels 4–5 | Manage larger crowds without falling behind on XP | Mortar Monkey, magnets, attack boosts |
| Level 6 | Complete multiple boss milestones | Alchemist, Wizard Monkey, Sniper Monkey |
Opening Steps
- Recruit Boomerang Monkey when offered. Its piercing attacks give your team another way to cut through approaching Bloons.
- Collect nearby Blops after clearing a pocket. Avoid standing still until enemies close every exit.
- Choose an available Quincy upgrade. Homing arrows help attacks connect, while Storm of Arrows adds an attack from above.
- Add Tack Shooter when available. Its outward bursts provide another attack around your team.
- Keep your escape route visible. Move toward open ground before the surrounding crowd becomes a wall.
Use this opening stretch of the Bloons Blitz walkthrough to practice short collection loops. Move away from a crowd, let your attacks thin it, then circle back toward the dropped experience.
MOAR Boss Steps
MOAR releases additional Bloons and uses stomping attacks. Keep some distance, watch its windup, and reposition before its attacks reach you. Continue damaging it while clearing nearby enemies.
Watch the remaining health indicators. Breaking through one portion of the boss's health does not necessarily finish the encounter.
Pickups to watch for:
- Blops dropped around your previous position.
- Experience within reach during the boss battle.
- Victory rewards, including your Blitz Box.
Official page: Bloons Blitz (ninjakiwi.com)
Levels 2–3: Dodge Rushes and Add Focused Damage
The next stages punish narrow attention. Looking only at experience can send you into a rush; looking only at enemies can leave your team underleveled.
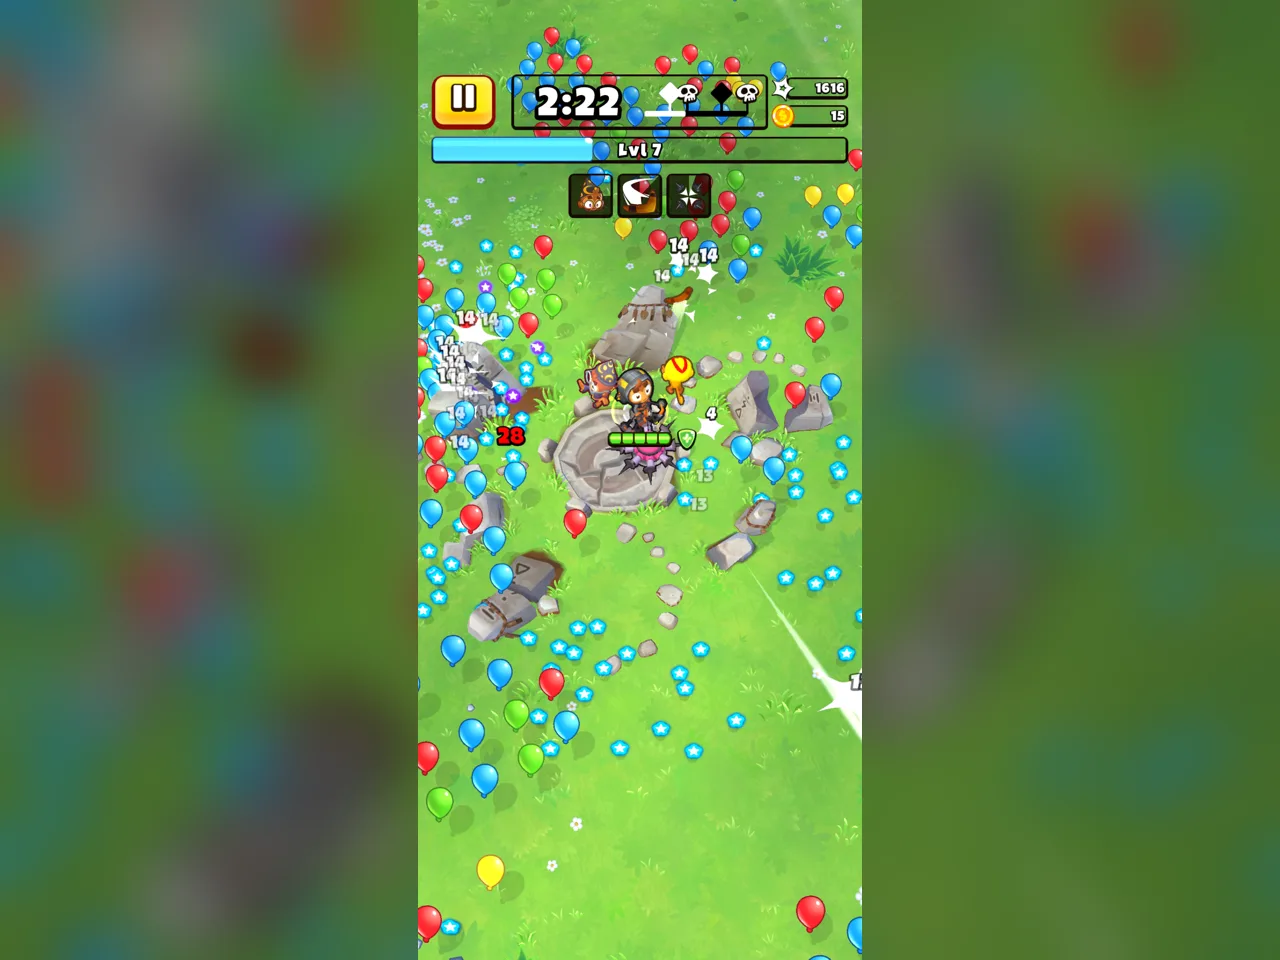 Image: Google Play / Ninja Kiwi
This part of the Bloons Blitz walkthrough adds a second priority: prepare an attack that can keep pressure on a boss while you move.
- Watch for warning lines and arrows. These mark incoming formations. Step away from their paths before the Bloons arrive.
- Collect experience between rushes. Return to cleared ground instead of retreating across the map indefinitely.
- Recruit Sniper Monkey when offered. Its long-range, piercing shots add focused damage alongside your surrounding attacks.
- Upgrade the attack that solves your current problem. Choose more crowd coverage when enemies are closing in; strengthen focused attacks when the boss approaches.
- Enter CTRL's encounter with room to maneuver. Watch the incoming Bloons instead of staring at the boss's health.
Match Each Ally to Its Attack
| Ally | Attack behavior | Upgrade options introduced early |
|---|---|---|
| Boomerang Monkey | Throws piercing boomerangs | Faster attacks and shrapnel effects |
| Tack Shooter | Fires outward spreads at short range | Blade attacks and additional coverage |
| Sniper Monkey | Fires long-range, piercing shots | Attack speed and damage upgrades |
| Mortar Monkey | Launches explosive shells | Burning effects, utility, and additional explosives |
| Wizard Monkey | Fires magical projectiles | Seeking projectiles and additional casting |
| Alchemist Monkey | Throws damaging potions | Additional potion effects and attack-speed support |
Read each upgrade description before selecting it. Some choices add another attack rather than simply replacing the existing one. Tack Shooter's blade option, for example, can operate alongside its normal attack.
For Quincy, homing arrows and The Zone offer a useful interaction to consider. The Zone rewards a hit streak with faster attacks, but misses reset that streak. Choose homing first when you want help maintaining connections.
Handling CTRL
CTRL surrounds its encounter with additional threats, including electrified Bloons. Follow the gaps between enemies and keep your attacks working while you reposition.
Avoid forcing a direct route to a banana through a crowded lane. Approach from another angle after your team clears space.
Pickups to watch for:
- Healing bananas, which restore one health.
- Blops left behind while dodging a formation.
- Daily quest rewards available between runs.
Levels 4–5: Collect Swarm XP Without Getting Trapped
Larger crowds create a tempting mistake: running so far away that you abandon the experience needed to beat them.
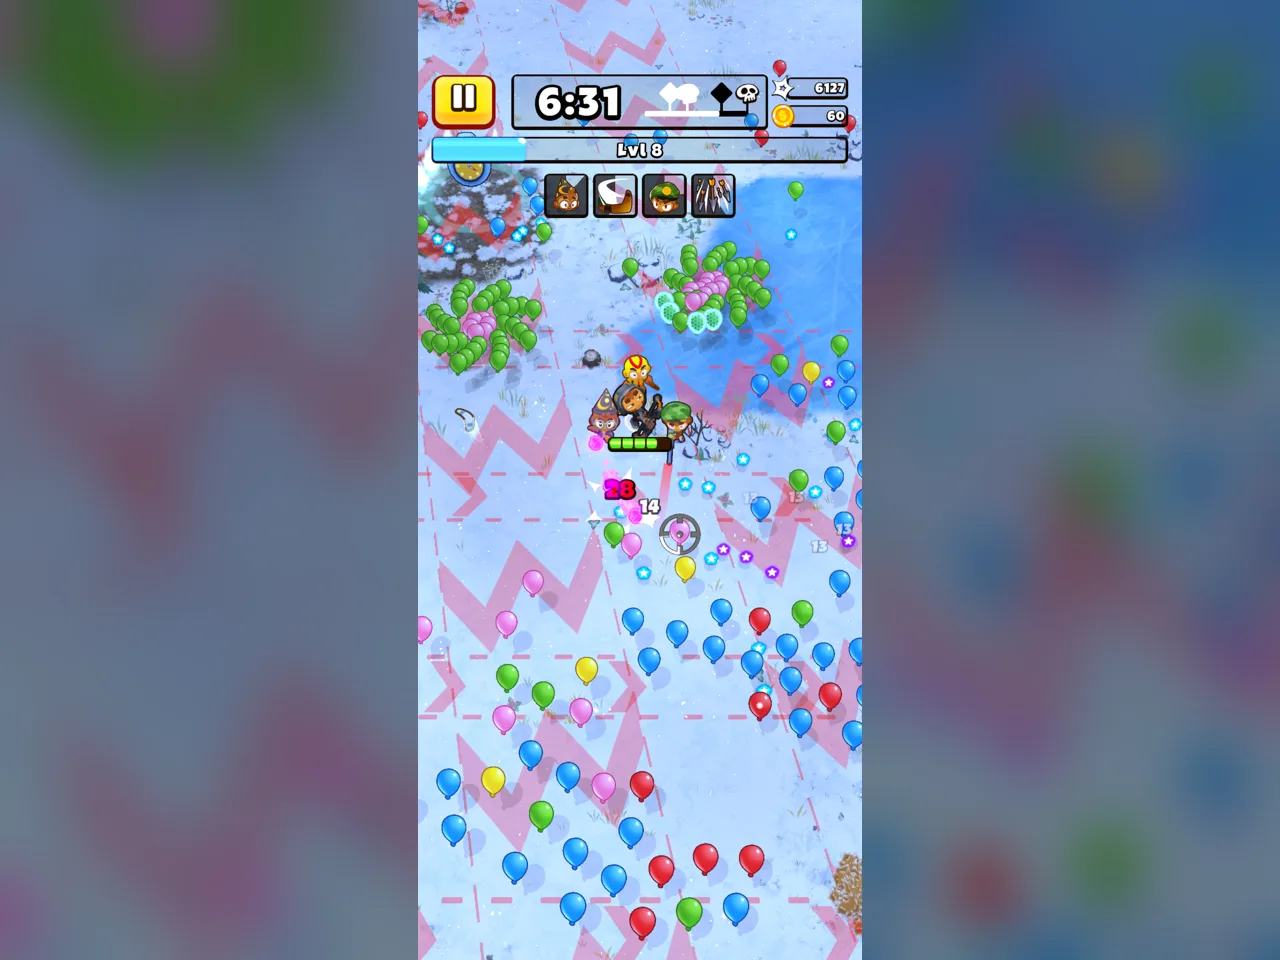 Image: Google Play / Ninja Kiwi
The central lesson in this Bloons Blitz walkthrough is to keep returning to your cleared ground. Pop Bloons, collect their Blops, and turn those levels into stronger attacks.
- Secure an early upgrade before chasing a dense crowd. Collect nearby experience and establish another attack.
- Choose Mortar Monkey when offered to add explosive coverage. Its shells help damage grouped enemies.
- Move around the outside of the crowd. Use broad loops where terrain permits, keeping an opening ahead.
- Sweep through cleared ground. Collect the experience after your attacks create a route.
- Strengthen boss damage before the encounter begins. Keep developing Quincy or a focused ally alongside your area attacks.
Turn Retreats Into Collection Loops
If enemies occupy a pile of Blops, draw them away before returning. Running directly into the pile can cost health without giving you enough time to collect it.
Keep your eyes on the next opening. A loop only works while there is space to complete it. Break away early when enemies begin closing the route.
Magnets can help collect scattered experience. Some encounters also require staying nearby briefly, so clear enough room before stopping to interact.
Choose Encounters Deliberately
Blue spark trails guide you toward nearby encounters, but following every trail can pull you away from a valuable experience pile.
Prioritize healing when health is low. Otherwise, compare the visible route with the ground you have already cleared. Stay near accessible Blops when a detour would leave your team struggling for its next upgrade.
Time Stop does not make contact with Bloons safe. You can still take damage while it is active. Continue steering around enemies instead of walking through them.
Pickups to watch for:
- Magnets near scattered experience.
- Bananas and campsites when you need healing.
- Temporary attack boosts.
- Blops near the boss boundary before they become difficult to reach.
Level 6: Prepare for Multiple Boss Milestones
Level 6 stretches your build across more than one boss encounter. Surviving the opening crowd is only part of the job; your team also needs damage that remains useful inside the boss arena.
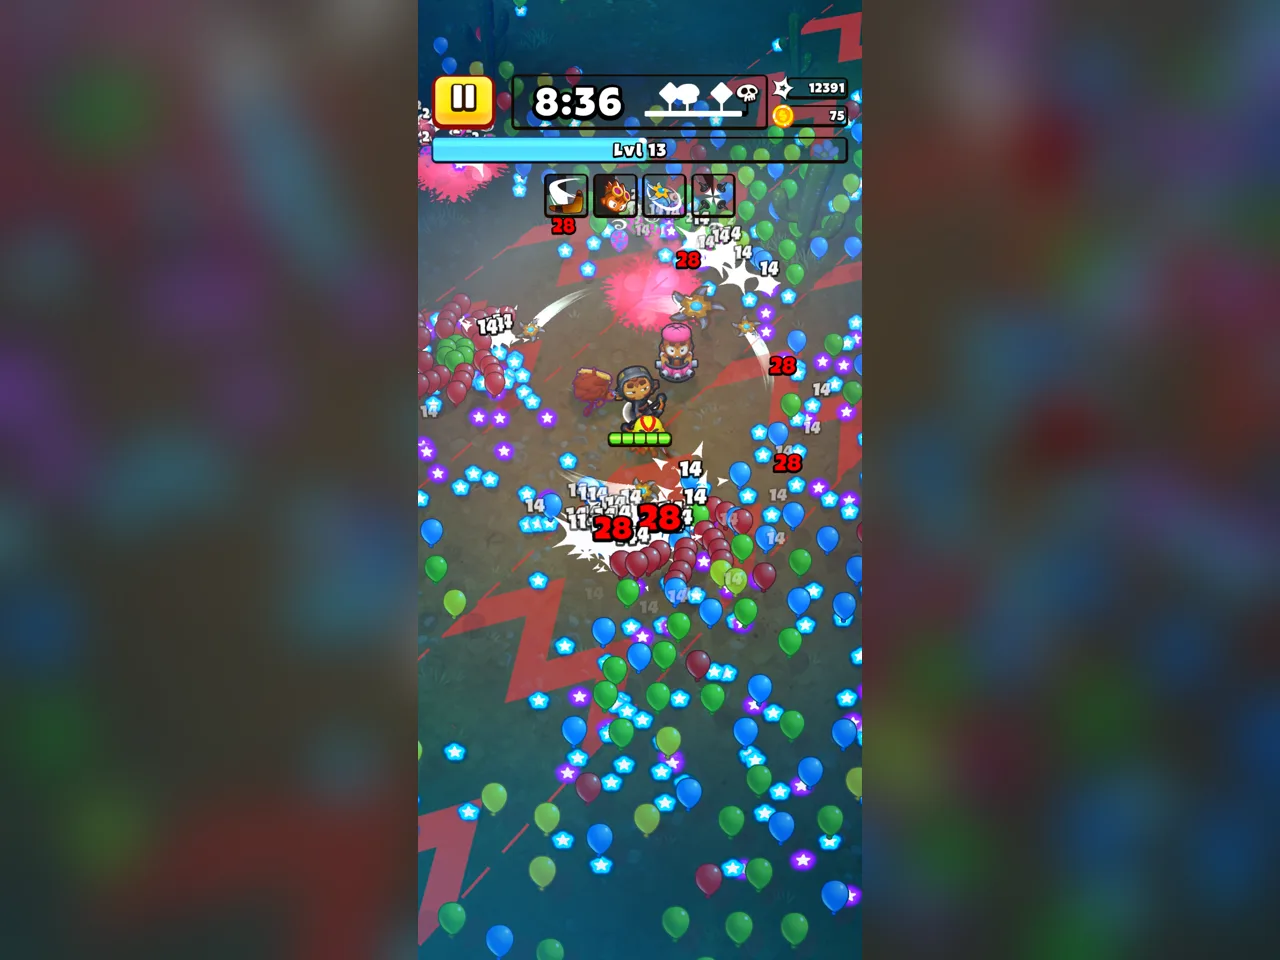 Image: Google Play / Ninja Kiwi
Use this section of the Bloons Blitz walkthrough to plan beyond your next upgrade.
- Add an area attack early. Alchemist's potions leave damaging pools, while Mortar provides explosive coverage.
- Recruit focused damage before the opening boss. Add Sniper Monkey when the choice appears rather than relying entirely on scattered area attacks.
- Develop an ally already contributing. Wizard upgrades can add casting and other magical effects.
- Collect experience between milestones. Use the returning waves to strengthen your team before the next boss.
- Choose final upgrades for the encounter ahead. Favor damage or attack speed when additional crowd coverage is no longer your immediate need.
Keep the Fight Readable
| Threat or mechanic | What to watch | What to do |
|---|---|---|
| MOAR's stomp | A visible windup before the attack | Create distance before it lands |
| CTRL's supporting Bloons | Enemies approaching through the arena | Move through open lanes |
| Multiple health sections | Remaining boss health indicators | Continue dodging after a section breaks |
| Boss arena boundary | Experience outside your accessible space | Collect reachable Blops without chasing beyond the boundary |
| Berserker potion pools | The area granting an attack-speed boost | Use the boost while keeping an escape route |
Avoid standing in a buff area simply because it increases attack speed. Leave when incoming enemies make the position dangerous.
The same applies to leveling during a boss fight. Collect a nearby cluster when there is room, but stop chasing experience once moving toward it costs repeated hits.
Pickups to watch for:
- Experience accumulated between boss milestones.
- Healing within the arena.
- Safe opportunities to use potion buffs.
- Rewards after completing the stage.
After Clearing Stages: Upgrade and Replay
The final part of this Bloons Blitz walkthrough happens back at camp. In-run choices build your current team; toys, upgrades, and equipped stickers support future attempts.
- Open earned Blitz Boxes and Sticker Packs.
- Review upgrade costs before spending gold.
- Develop the heroes and allies you regularly use.
- Arrange useful stickers within the notebook's available space.
- Check earlier stages for harder variants and special challenges.
| Progression item | Function | What to check |
|---|---|---|
| Collectible toys | Support hero progression and new upgrades | Which hero the collectible belongs to |
| Gold | Pays for progression upgrades | The cost of your next upgrade |
| Stickers | Provide team bonuses | Effect, shape, and notebook space |
| Blitz Boxes | Contain progression collectibles | Contents after opening |
| Sticker Packs | Add stickers to your collection | Whether a new sticker improves your arrangement |
Sticker placement matters because notebook space is limited. Compare the full arrangement rather than squeezing in an individual sticker at the expense of several useful effects.
Replay unlocked challenges for their objectives, but remember that earlier checkpoint and boss rewards are one-time rewards.
Version 1.1 also adds special stages with corridors, trees, cliffs, and other terrain restrictions. Adjust your collection loops to the available space. Check the route ahead before committing to a turn near an obstacle.
FAQ
What should I prioritize in a Bloons Blitz walkthrough?
Collect Blops consistently, keep an escape route open, and develop both crowd coverage and focused damage. Those priorities connect your movement, leveling, and boss preparation throughout a run.
Which monkeys can I recruit?
Your allies include Boomerang Monkey, Tack Shooter, Sniper Monkey, Mortar Monkey, Wizard Monkey, and Alchemist Monkey. Each brings different attacks and upgrade paths.
Does Time Stop prevent damage?
No. Contact with Bloons can still damage you during Time Stop. Keep moving around enemies while the effect is active.
How do I recover health?
Bananas restore one health, and campsites restore your health fully. Clear a route before approaching either pickup so you can reach the healing without taking avoidable hits.
Continue with
 Bloons Blitz Beginner Guide: Build a Strong Team – ExplainedLearn how movement, upgrades, monkey choices, rewards, and currencies work in Bloons Blitz with practical tips for new players. Includes tables and an FAQ.
More in Guide
See all GuidePopular pages
Bloons Blitz Tier List: What Mortar and Tower Evidence Shows
Compare the limited Bloons Blitz tower evidence, see what the Mortar run demonstrated, and weigh damage, safety, and pickup collection. With quick tables.
Bloons Blitz Build Guide: Quincy, Sniper, and Allies
Shape your Bloons Blitz build around Quincy, Sniper, and smart upgrades. Learn team limits, sticker choices, and survival tactics for tougher boss fights.
Bloons Blitz Codes: Creator Codes, Rewards, and Safe Checks
Learn where Bloons Blitz places the creator code option and what sources confirm about redeemable rewards; codes from other Bloons games may not work here.
Bloons Blitz Release Date: What We Know About Its Launch
Bloons Blitz is available to play. Explore Update 1.0, supported platforms, and launch details, with links to the current Android and iOS listings.
Join the community
Official channels for news, updates and player help: